Showing posts with label homemade. Show all posts

Tuesday, August 9, 2011

Basic Homestead Skills Paying Off!

As I've previously blogged, we've started to focus on learning basic skills in our home to increase our self sufficiency and help us take more control over our own lives.  The less we rely on other people for our basic needs, the more we will be able to handle adversity in times of trouble.

Similar blanket to what my daughter makes. Pics coming soon.
Lately, it seems that many of our skills are being put to good use and actually starting to become a source of additional income!  This is partially why we began to learn self sufficiency skills, to provide for ourselves by making our own goods or selling/trading with others.

My oldest daughter has become quite good at crocheting, which she just learned this past Christmas.  She can make stocking caps, scarves, blankets big and small, dish towels and more.  She had made baby blankets and wash cloths as gifts throughout the year. It seems word has gotten around that she makes a pretty good blanket that she has begun getting requests...paid requests.  She also started to babysit around the neighborhood and is now being requested for paying jobs as a babysitter too. 

Who knew these little gems
could be profitable?
On our recent visit to our local Farmer's Market, I asked where all the honey sticks had gone.  The store attendant said the supplier had not returned calls in months and they no longer had a supplier.  It wasn't three hours later that the same daughter had done her research and determined she could make honey sticks and sell them at the Farmer's Market for a marginal profit!  She got our impulse sealer out that we use on our mylar bags and placed it on a counter.  Pulled a thin, clear straw from an empty styrofoam cup on the counter and proceeded to fill it with a honey bottle.  She quickly impulse sealed both ends and gleamed with joy! A quick review of her math and I agreed.  Her cost was $0.18 per straw and they used to sell at the Farmer's Market 3 for $1.  To a 13 year old, she might as well have discovered sliced bread!

Wifey is getting requests to babysit in our home all of the sudden.  Cha-ching!  I keep telling her that if she could blog about her sewing and crafting activities, I'm sure there are scores of women who could benefit from the dresses, skirts, hand bags, pencil holders, crayon wraps, etc and learn how to make these things for themselves just like she has. The rewards of blogging, sharing and learning never cease to amaze me.

I've blog constantly about how our still blossoming gardening skills have begun putting food on our plates.  I've begun expanding my carpentry skills and successfully added a living room niche for more books space, shelving and spool rods for Wifey's craft room upgrade and a large shelving system in our garage to get more organized.  This past weekend I added a wall mounted desk enclosure in a daughter's room to allow her private study time away from her "bratty, noisy sisters". LOL.
It pays in several ways to learn basic skills.  It can fill your soul with pride, your body with nourishment, and your pockets with a few coins. 

What skills do you enjoy?  What skills do you want to learn?

~OJD

Wednesday, July 6, 2011

Bosch Homemade Whole Wheat Bread Recipe

Enough with talking about Wifey's homemade wheat bread, here's the step by step recipe...

You will need:

  • around 10 cups of ground flour
  • 3 tbs Saf instant yeast
  • 2 cups high gluten bread flour or 1/3 cup vital wheat gluten
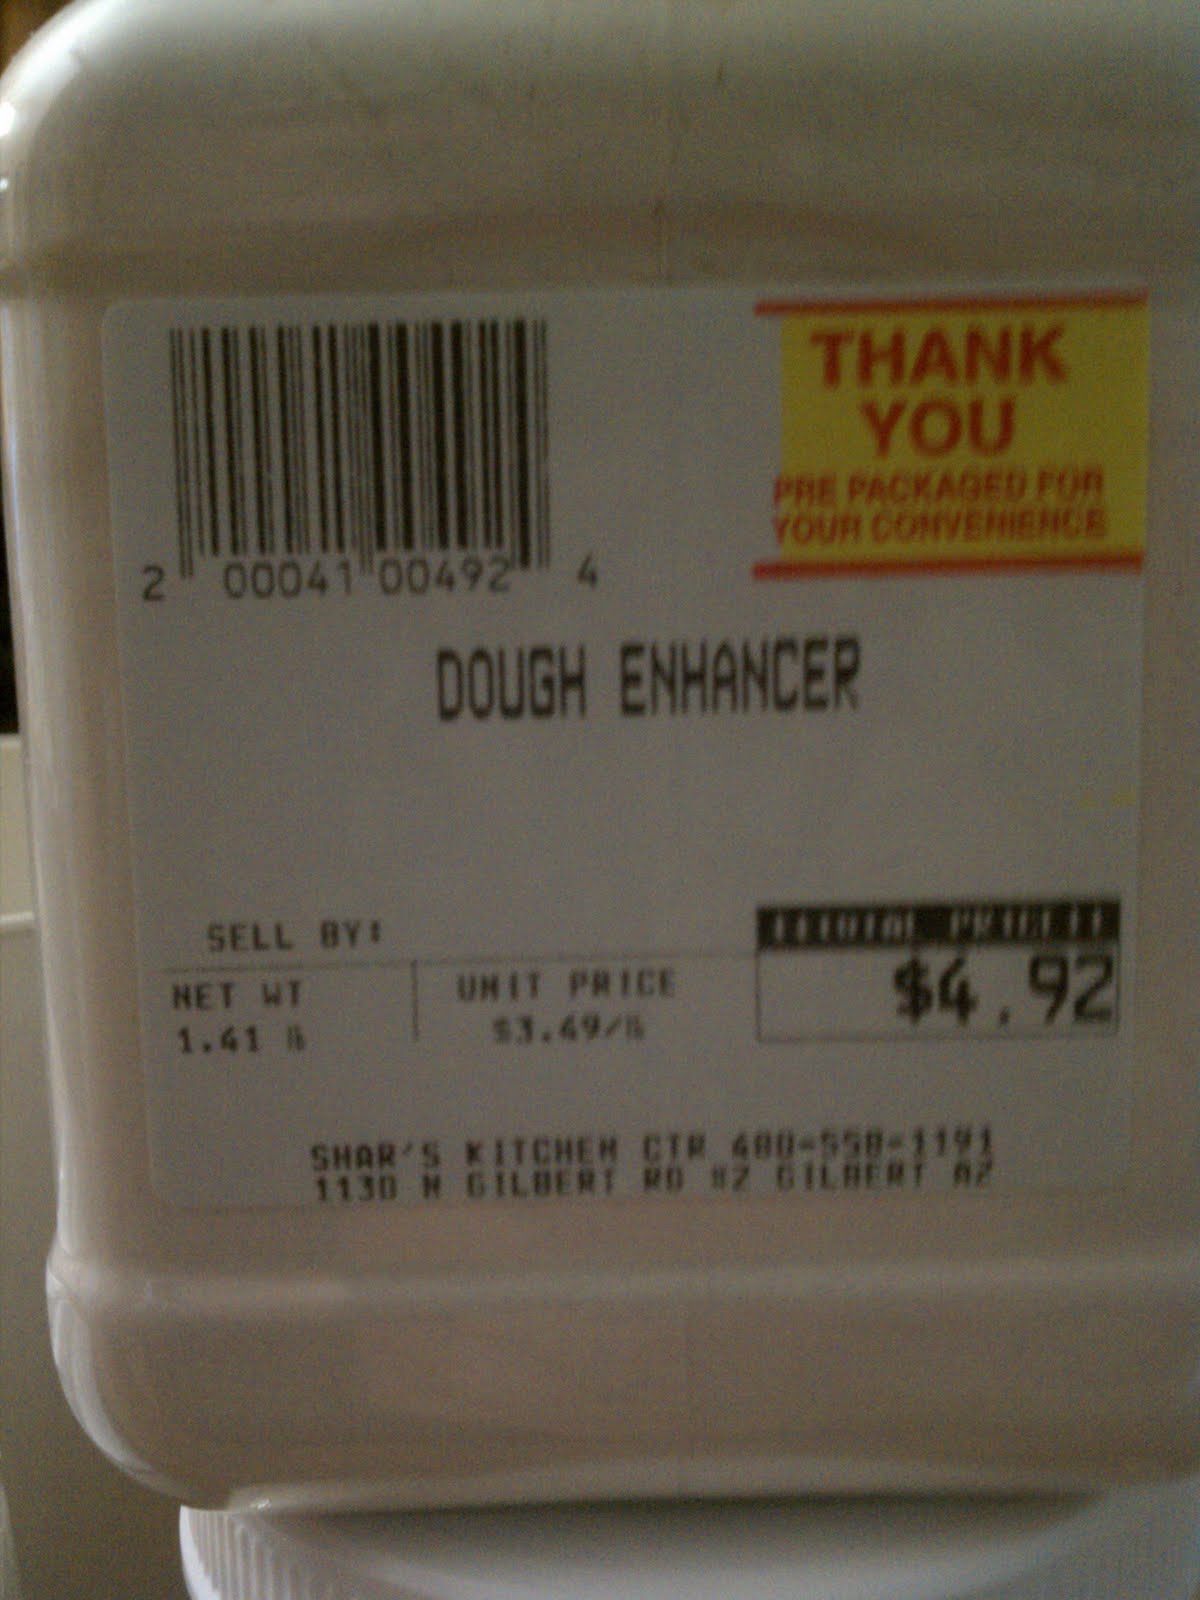
  • 3 tbs dough enhancer
  • 2/3 cup honey
  • 2/3 cup canola oil
  • 2 tbs sea salt
  • 6 cups warm water (~115 degrees)
She used her WhisperMill to grind her wheat. High on our lists of "wants" is a hand grinder, we just haven't found one we like that fits our budget yet.

WhisperMill filled with wheat berries.

View of ground wheat.


Added Vital Wheat Gluten

Added dough enhancer

Added yeast

Added honey

Added 6 cups of flour and salt.

Using Berkey filtered water for best taste, brought 6
cups of water up to around 115 degrees and added to Bosch.

Turn the machine to speed 1 and continue to add wheat flour only until the dough begins to pull away from the sides of the bowl. When you can see the sides pull clean, as well as the dough coming clean from the bottom of the bowl, you know you have enough flour. Be careful not add too much flour.  The dough should be very sticky and does not come together at this point, but the bowl is clean.

Knead on speed 1 for 8-10 minutes or until the gluten has been developed. If you feel your dough is too dry, simply add a few tablespoons of water to moisten, always pulling the sides clean.  If dough starts sticking simply add a little white flour to take up the moisture.


Consult a YouTube video if you start to question whether
or not your dough looks right, like we did ;-)

Grease your bread pans. Wifey used a ziplock
baggy as a glove to spread butter.

Oil your hands, remove dough from mixer onto a slightly oiled counter, divide your dough into 4-5 large loaves depending on your pan size.

Shape loaves, and place in a well greased or sprayed (pam) pan, never use oil. Cover with a dry towel and let rise until dough has risen double or approx. 2 inches above the rim of the pan. This will take from 30 to 60 minutes depending on the room temperature.
Divide up the dough into five equal sections.

Put the dough in your greased pans.

Bake in preheated oven at 350 degrees for 30-35 minutes, or until the inside temperature is 200 degrees. An instant read thermometer is very useful in telling whether your bread is done. Test after baking time is complete by taking bread out of its pan and pushing the thermometer into side or bottom of loaf. If not 200 degrees, place back in pan and bake another few minutes.

Cool on cooking racks before putting into bread bags. The recipe says the bread can be frozen up to 30 days without freezer burn but we've haven't had a loaf last 2 days before it gets eaten ;-)

Fresh out of the oven.

Bread fresh from the oven. Fluffy and airy. Delicious.


We bought our ingredients from a local store called Shar's in Gilbert, Arizona. This was the recipe they recommended and we are glad they did.  We've had red hard wheat and white hard wheat in two different batches. While the red tasted good, the white tasted better. I think next time we'll try more honey to sweeten the bread a little more.

How do YOU make homemade bread?

~OJD

Saturday, July 2, 2011

Homemade Bread Makes A Great Dagwood Sandwich

Five homemade bread loaves, mmmmmm!
(Don't forget our contest from July 1-15, great prizes!)

One of our family goals in achieving greater self sufficiency this year was to learn how to make our own bread. Wifey's been grinding her own wheat with her Whispermill (old version of the WonderMill) for most of the year to make brownies and cookies. Yesterday she used her ground wheat to make her first batch of homemade bread.

Wow, was this batch spot on! She had some doubts during the dough stage as to whether it was "sticky" enough. Not sure what that meant but I encouraged her onward. I mean, it looked like dough to me...

So, sometime this week I'll post the recipe for those of  you looking for one or are going to attempt your first bread making. I highly recommend it. The resulting odor of fresh, oven baked bread wafting throughout the house was worth it all by itself.

Light, fluffy and delicious!
We tried it out immediately last night.  I first dipped it in some balsamic vinegar and it tasted fantastic. Then I tried some with strawberry preserves...even better! Wifey sliced some up and tossed it in the toaster to crisp it up for jelly. Kids came crawling out of the woodwork to taste mom's efforts. Unanimously we declared success and look forward to making it on a regular, dare I say biweekly, basis.

The recipe ended up making 5 loaves. Since we only had three bread pans, I offered up the round cake pans for the last two loaves. Ah, but there was a method to my madness you see.  Having grown up with a healthy dose of Schlotzsky's sandwiches (aka Dagwood sandwich, from the Dagwood cartoon), I was eager to attempt my own sandwich masterpiece. I envisioned "The Dadwood Sandwich". [picture Homer drooling, halalaalaalal].

After the mayo & cheese, my hunger tripled!
I started with a round loaf and sliced it horizontally.  I layered it with mayo and shredded cheddar cheese on both halves.  Next I used my own sliced ham, as mentioned in this post (we save money buying whole and slicing it ourselves).  I pre-heated the oven, layered one side of the sammy with shaved ham, then slid both halves into the oven.

About eight minutes later, the halves emerged slightly crunchified covered with gooey melted cheese and baked shaved ham. Mmmmm.....   I quickly sprinkled it with diced dill pickles and jalapenos. If my brain was fully functional, I would have thought to add lettuce from our garden too (DOH!).  I quartered it, served it up for Wifey and me, and washed it down with delicious, ice cold Berkey filtered water.

Schlotzsky's nothing, meet the Dadwood sammy.
Wifey and I agreed it was beyond scrumptious.  A new family menu item has been born to our delight. Since our new homemade bread recipe results in five loaves, we can make three traditional loaves and two Dadwood Sandwich loaves every time she makes bread.  I will SO be the envy of the gang at work when I pull out my homemade sammy at lunchtime.  Eh, I might share...I might not.   :-)

So, if you haven't made fresh bread in YOUR homestead yet, I HIGHLY recommend it.  I'd say it only took about half an hour to make, half an our to rise (in the oven), and half an hour to bake. Not bad at all.  Oh, and don't forget the aroma of fresh baked bread lingering through the house for hours!

What do you do with YOUR homemade bread?

Thursday, April 21, 2011

Thoughts on Home Security Upgrades & Armor Concepts

Thoughts on Home Security Upgrades & Armor Concepts


About six months ago, I decided it was time to beef up the security around the house. I researched many blogs and youtube videos for the many different options available today. The most detailed and helpful research, as usual, came from Rawles Survival Blog.

At that time, I chose to address the entry points. How could I reinforce my doors and windows? After much research, I ended up using Armor Concepts Door Jamb Armor. They provided several videos on the product showing several attempts to kick the door down AND using a police battering ram. They also provided videos for installation. I outfitted all pertinent outside doors with Door Jamb Armor.

The Art of Shaving

In my dream world, I shave about as often as a Roberts man in all my Duck Dynasty glory. In the real world, I have a job that requires me to...